2025 Best CNC Motorcycle Parts Manufacturer
 Published:Jul 07,2022

Why Choose CNC Custom Machining for Motorcycle Parts Instead of Buying off-the-shelf?
As we all know, motorcycles are a common means of transportation in life. In the opinion of the vast majority, a motorcycle is nothing more than an inconspicuous means of transportation, while in the opinion of motorcycle enthusiasts, a motorcycle is an artwork that carries inspiration, TWO WHEELS MOVE THE SOUL. Since a motorcycle is an artwork, its parts should also be CNC custom rather than off-the shelf.
CNC machining replaces die casting because CNC machining can produce more complex geometries, oversized or heterosexual parts, and the ability to hold tighter tolerances that die casting cannot. Motorcycling is an extreme sport, and high-precision machining methods can greatly reduce the probability of danger.
2015-2019, the global motorcycle market has maintained steady growth. In 2019, the global motorcycle market has reached 124.387 billion US dollars. Affected by the epidemic in 2020 and 2021, the industry scale has declined but also exceeded 100 billion US dollars.

CNC Motorcycle Parts Meaning
Motorcycle parts can be custom made from aluminum alloy, stainless steel, steel, brass, phosphor bronze, black POM, etc. Custom CNC parts of each material has its own properties, uses and advantages. At the same time, different materials can also have different surface treatment methods, so that they have a series of enhanced advantages such as super corrosion resistance, high heat resistance, permeability and surface beauty. For example, aluminum alloy hard anodizing provides corrosion resistance, wear resistance, insulation and an attractive appearance. In detail:
1. The surface hardness of the aluminum alloy after hard anodizing can reach up to about HV500.
2. The thickness of the anodized film is 25-250um, and 50% of the generated anodized film penetrates into the aluminum alloy, and 50% adheres to the surface of aluminum alloy.
3. For aluminum alloys with copper content not exceeding 2%, the maximum wear index is 1000 rpm.
4. The resistance of the anodizing film is very large, and it can play a good role as an insulating layer.
5. The electrochemical process of the anodic oxide film is non-toxic and harmless to the human body.


Numerical Control Machine Tool Machining Method of Motorcycle Rear Wheel Parts
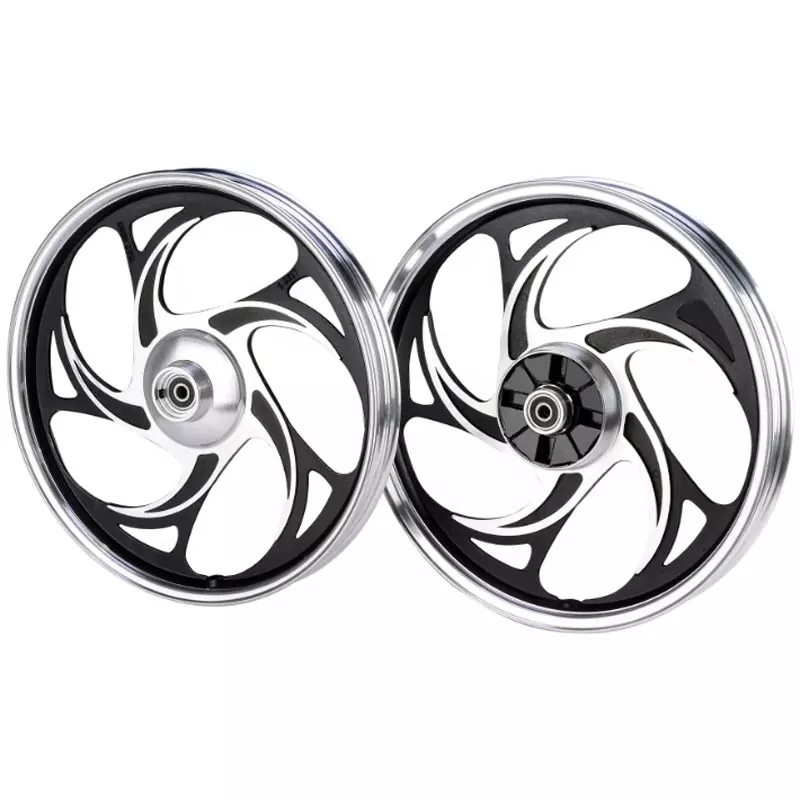
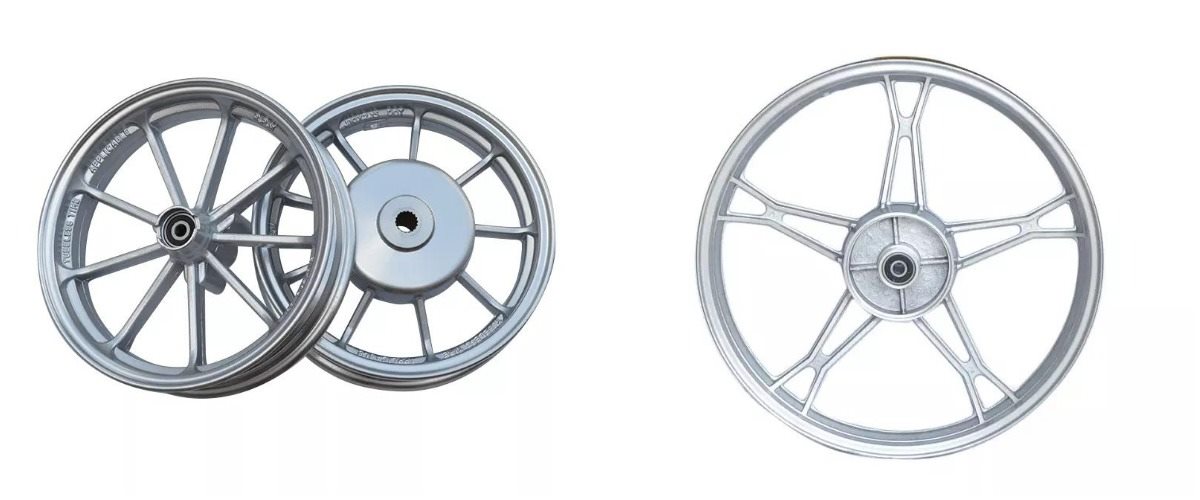
The assembly relationship between the rear wheel axle hole of the motorcycle and the bearing, the bearing and the bearing end cover, and the connecting block between the rear wheel and the body requires very high dimensional accuracy and tolerance between parts. This paper will apply CNC machining technology to the mold table. The machining of the rear wheel parts of the car is analyzed.
1. Parts Analysis
Through the observation of the components of the rear wheel of the motorcycle, the real poison and the design of the rear wheel structure of the model need:
1) The surface roughness of the shaft hole and the matching size and tolerance requirements between the shaft hole and the bearing should be ensured at the fitting of the rear wheel, and at the same time It is also necessary to ensure the matching size requirements between the shaft hole and the shaft.
2) The overall surface of the rear wheel should be smooth for later painting and anodizing.
2. Parts technical Requirements
1) The overall size of the rear wheel is less than 50mm.
2) The surface roughness Ra is less than 1.6um.
3) The shaft hole needs to be finished.
4) The depth of the tread on the tire surface is controlled within 0.1-0.2mm
5) The surface of the parts cannot be machined Scratches, pinch marks appear.
3. Actual Processing and Technical Testing
1. Blanking stage
The shape of the blank material used for roughing the blank is square, which does not involve the processing of complex structures, but the X-axis rotation is involved in the later processing, so a 4-axis machine tool is used to complete the whole process from blanking to processing the finished product, because the blank material It is square, so the clamping device chooses a clamp with a triangular notch
2. Clamping
Two-sided machining: Since the thickness of the blank becomes smaller after roughening during clamping, it is necessary to precisely mill a spacer in advance, the width is smaller than the diameter of the blank material, and the thickness should be matched with the blank. When clamping, the top surface of the blank is 5-10mm higher than the fixture. Thickness of the pad. After the pad is clamped with the blank, the upper surface of the blank needs to be measured. The parallelism of the measured material ensures that the error range is within 0.002mm.
Side processing: When the side texture is processed, it is necessary to make a special fixture due to the rotation system involved. After fitting the parts with the fixture, the fixture is clamped as a whole by the 3-jaw chuck. After the workpiece is clamped, measure the side to be machined, and also need to measure the circular runout range of the rotation, and measure the workpiece to ensure that the error range is within 0.002mm.
3. Processing stage
After the parts are clamped, it is necessary to set the tool and center the machine tool to determine the machining coordinate system of the machine tool. This step is very critical to the subsequent processing of the part. The accuracy of the tool setting and centering directly affects the machining accuracy of the part. When the tool is installed, the length of the shank of each tool is different, and each tool needs to be calibrated.
(1) Processing of the first side: Fix the vise on the workbench, and ensure that the horizontal error range is within 0.002mm at the fixed timing. The part is placed horizontally in a vise and clamped to machine the top surface of the part.
(2) Processing of the second side: Use the same vise during processing, and the clamping method is the same as that of the first side, but before clamping the workpiece, check the workpiece to check whether the processing surface is level. After milling the plane, there is no need to disassemble the parts, just modify the program and import the program for milling through holes into the machine tool. In order to ensure the machining accuracy, the machining zero coordinate system is consistent with the milling plane coordinate system.
(3) Side processing: When CNC machining the side, because it is a cylindrical surface, the x-axis rotation is involved in the processing, so the required fixtures need to be made for the processing of the side. Clamp one end of the fixture with the 3-jaw chuck of the rotating workbench, and drive the workpiece processing through the rotation of the workbench.
4.Problems Encountered in Processing and Solutions
In the process of precision machining, the following problems may occur: the tool setting is not accurate, resulting in the first tool can not be processed to the workpiece surface, so it is necessary to set the tool again. When finding the workpiece center by dividing the tool, due to the inaccurate division and error, the workpiece processed by the tool cannot follow the preset route, and the parameters need to be changed.
5.CNC Parts Measure
The shaft hole and surface of the CNC part need to meet the requirements of certain dimensional accuracy and surface roughness, so the machined parts need to be further measured to determine whether they meet the requirements of custom CNC parts. According to the dimensional accuracy requirements of the parts on the drawing, it is necessary to detect the dimensional tolerance, shape and position tolerance, and surface roughness of the prototype CNC parts

Custom CNC Parts in Machining Factory
tuofa-cncmachining.com in actual processing, it is necessary to pay attention to the alignment of the reference surface. At the same time, it is also necessary to pay attention to when clamping the prototype parts. After clamping, the machining surface should be kept in the horizontal position. In order to ensure the machining accuracy, it is necessary to measure each machining surface to ensure that the parts are in the horizontal position. After the prototype parts are processed, it is necessary to measure the fitting dimensions of the parts to determine whether the parts meet the design requirements.
 Tel/WeChat:
  Email:
 Home
Home
 What is Anodizing: Colors, Thickness and Reaction


